The Keras deep learning library provides a sophisticated API for loading, preparing, and augmenting image data.
Also included in the API are some undocumented functions that allow you to quickly and easily load, convert, and save image files. These functions can be convenient when getting started on a computer vision deep learning project, allowing you to use the same Keras API initially to inspect and handle image data.
In this tutorial, you will discover how to use the basic image handling functions provided by the Keras API.
After completing this tutorial, you will know:
- How to load and display an image using the Keras API.
- How to convert a loaded image to a NumPy array and back to PIL format using the Keras API.
- How to convert a loaded image to grayscale and save it to a new file using the Keras API.
Let’s get started.
Tutorial Overview
This tutorial is divided into five parts; they are:
- Test Image
- Keras Image Processing API
- How to Load an Image With Keras
- Convert Image an With Keras
- Save Image an With Keras
Test Image
The first step is to select a test image to use in this tutorial.
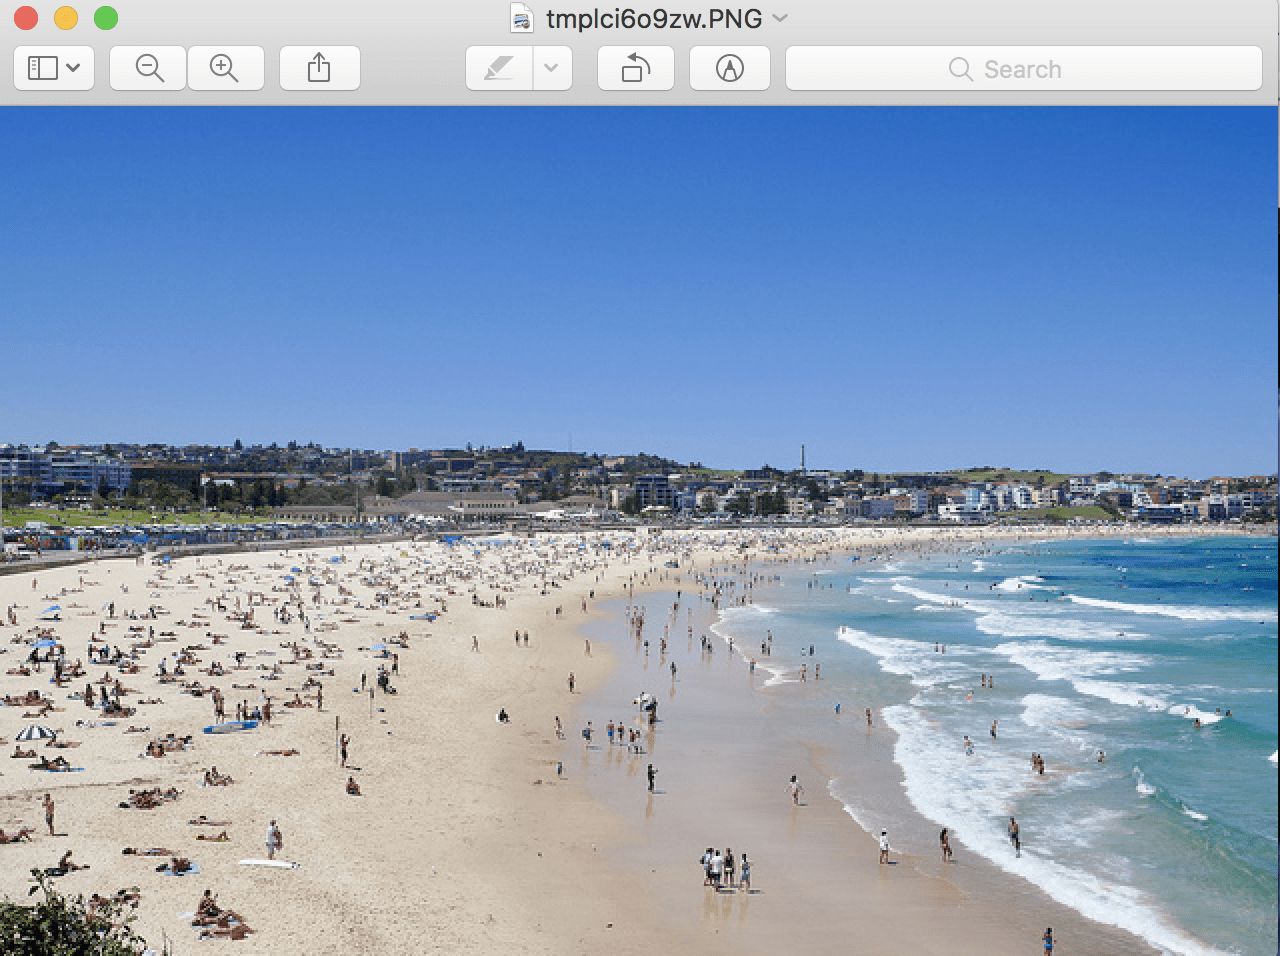
We will use a photograph of Bondi Beach, Sydney, taken by Isabell Schulz, released under a permissive creative commons license.

Bondi Beach, Sydney
Download the image and place it into your current working directory with the filename “bondi_beach.jpg“.
Keras Image Processing API
The Keras deep learning library provides utilities for working with image data.
The main API is the ImageDataGenerator class that combines data loading, preparation, and augmentation.
We will not cover the ImageDataGenerator class in this tutorial. Instead, we will take a closer look at a few less-documented or undocumented functions that may be useful when working with image data and modeling with the Keras API.
Specifically, Keras provides functions for loading, converting, and saving image data. The functions are in the utils.py function and exposed via the image.py module.
These functions can be useful convenience functions when getting started on a new deep learning computer vision project or when you need to inspect specific images.
Some of these functions are demonstrated when working with pre-trained models in the Applications section of the API documentation.
All image handling in Keras requires that the Pillow library is installed. If it is not installed, you can review the installation instructions.
Let’s take a closer look at each of these functions in turn.
How to Load an Image with Keras
Keras provides the load_img() function for loading an image from file as a PIL image object.
The example below loads the Bondi Beach photograph from file as a PIL image and reports details about the loaded image.
# example of loading an image with the Keras API
from keras.preprocessing.image import load_img
# load the image
img = load_img('bondi_beach.jpg')
# report details about the image
print(type(img))
print(img.format)
print(img.mode)
print(img.size)
# show the image
img.show()
Running the example loads the image and reports details about the loaded image.
We can confirm that the image was loaded as a PIL image in JPEG format with RGB channels and the size of 640 by 427 pixels.
<class 'PIL.JpegImagePlugin.JpegImageFile'>
JPEG
RGB
(640, 427)
The loaded image is then displayed using the default application on the workstation, in this case, the Preview application on macOS.

Example of Displaying a PIL image using the Default Application
The load_img() function provides additional arguments that may be useful when loading the image, such as ‘grayscale‘ that allows the image to be loaded in grayscale (defaults to False), ‘color_mode‘ that allows the image mode or channel format to be specified (defaults to rgb), and ‘target_size‘ that allows a tuple of (height, width) to be specified, resizing the image automatically after being loaded.
How to Convert an Image With Keras
Keras provides the img_to_array() function for converting a loaded image in PIL format into a NumPy array for use with deep learning models.
The API also provides the array_to_img() function that can be used for converting a NumPy array of pixel data into a PIL image. This can be useful if the pixel data is modified while the image is in array format and can then be saved or viewed.
The example below loads the test image, converts it to a NumPy array, and then converts it back into a PIL image.
# example of converting an image with the Keras API
from keras.preprocessing.image import load_img
from keras.preprocessing.image import img_to_array
from keras.preprocessing.image import array_to_img
# load the image
img = load_img('bondi_beach.jpg')
print(type(img))
# convert to numpy array
img_array = img_to_array(img)
print(img_array.dtype)
print(img_array.shape)
# convert back to image
img_pil = array_to_img(img_array)
print(type(img))
Running the example first loads the photograph in PIL format, then converts the image to a NumPy array and reports the data type and shape.
We can see that the pixel values are converted from unsigned integers to 32-bit floating point values, and in this case, converted to the array format [height, width, channels]. Finally, the image is converted back into PIL format.
<class 'PIL.JpegImagePlugin.JpegImageFile'>
float32
(427, 640, 3)
<class 'PIL.JpegImagePlugin.JpegImageFile'>
How to Save Image With Keras
The Keras API also provides the save_img() function to save an image to file.
The function takes the path to save the image, and the image data in NumPy array format. The file format is inferred from the filename, but can also be specified via the ‘file_format‘ argument.
This can be useful if you have manipulated image pixel data, such as scaling, and wish to save the image for later use.
The example below loads the photograph image in grayscale format, converts it to a NumPy array, and saves it to a new file name.
# example of saving an image with the Keras API
from keras.preprocessing.image import load_img
from keras.preprocessing.image import save_img
from keras.preprocessing.image import img_to_array
# load image as as grayscale
img = load_img('bondi_beach.jpg', grayscale=True)
# convert image to a numpy array
img_array = img_to_array(img)
# save the image with a new filename
save_img('bondi_beach_grayscale.jpg', img_array)
# load the image to confirm it was saved correctly
img = load_img('bondi_beach_grayscale.jpg')
print(type(img))
print(img.format)
print(img.mode)
print(img.size)
img.show()
Running the example first loads the image and forces the format to be grayscale.
The image is then converted to a NumPy array and saved to the new filename ‘bondi_beach_grayscale.jpg‘ in the current working directory.
To confirm that the file was saved correctly, it is loaded again as a PIL image and details of the image are reported.
<class 'PIL.Image.Image'>
None
RGB
(640, 427)
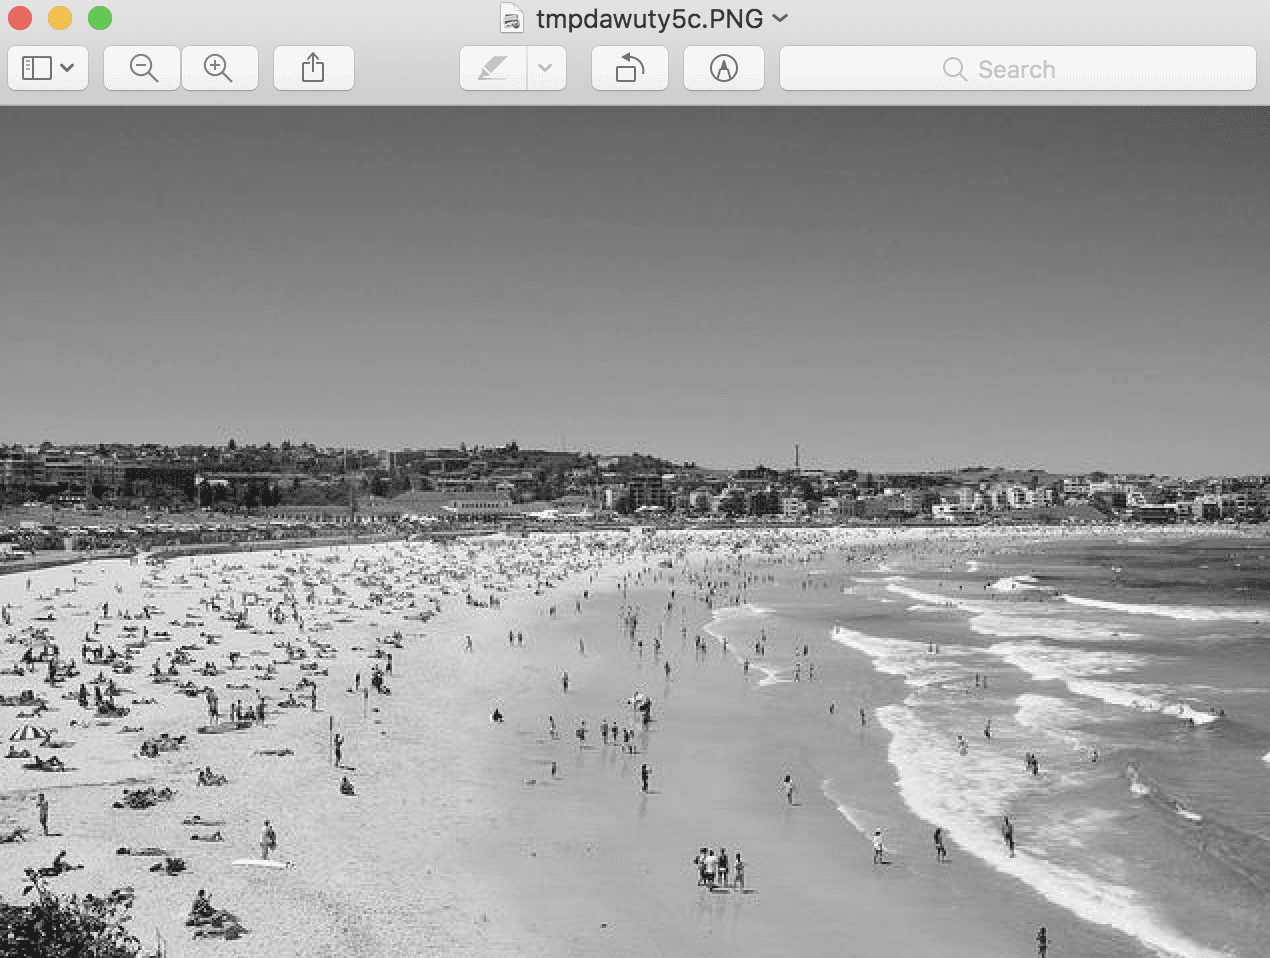
The loaded grayscale image is then displayed using the default image preview application on the workstation, which in macOS is the Preview application.

Example of Saved Grayscale Image Shown Using the Default Image Viewing Application
Further Reading
This section provides more resources on the topic if you are looking to go deeper.
Posts
API
- Pillow Library
- Keras Image Preprocessing API
- Keras Applications API
- Keras image.py Source Code
- Keras utils.py Source Code
Summary
In this tutorial, you discovered how to use the basic image handling functions provided by the Keras API.
Specifically, you learned:
- How to load and display an image using the Keras API.
- How to convert a loaded image to a NumPy array and back to PIL format using the Keras API.
- How to convert a loaded image to grayscale and save it to a new file using the Keras API.
Do you have any questions?
Ask your questions in the comments below and I will do my best to answer.
The post How to Load, Convert, and Save Images With the Keras API appeared first on Machine Learning Mastery.
Machine Learning Mastery published first on Machine Learning Mastery
No comments:
Post a Comment